Creating Signup Forms
This guide walks you through creating a signup form to collect SMS subscribers from your website.
Basic Settings
Section titled “Basic Settings”Form Name (Required)
Section titled “Form Name (Required)”An internal name for your reference. This is not shown to visitors.
- Example: “Newsletter Signup”
- Example: “Footer Opt-in Form”
Form Title
Section titled “Form Title”The heading displayed at the top of the form. Leave blank for no title.
- Example: “Join Our List”
- Example: “Get Exclusive Deals”
Success Message
Section titled “Success Message”The message shown after successful submission.
- Default: “Thank you for subscribing!”
- Example: “You’re in! Watch for our first message soon.”
Description
Section titled “Description”Optional text displayed below the title to explain the form’s purpose.
- Example: “Get exclusive updates and offers delivered straight to your phone.”
Target Tags
Section titled “Target Tags”New contacts from this form will be tagged with these tags. Use tags to:
- Segment subscribers by signup source
- Target specific groups in campaigns
- Track where contacts came from
To add a tag, type the tag name and press Enter or click the add button.
Form Fields
Section titled “Form Fields”Select which fields to display on your form:
| Field | Required | Description |
|---|---|---|
| Phone Number | Always | The contact’s mobile number |
| First Name | Always | Required for personalization |
| Last Name | Optional | Collect full names |
| Email Address | Optional | For multi-channel marketing |
| Business/Company | Optional | For B2B signups |
CASL Compliance
Section titled “CASL Compliance”Consent Text (Required)
Section titled “Consent Text (Required)”The text that appears next to the consent checkbox. This is required for CASL compliance.
Default:
I agree to receive SMS messages. Message and data rates may apply. Reply STOP to unsubscribe.Customize this text to match your communication style, but ensure it:
- Clearly states they’ll receive SMS messages
- Mentions potential carrier charges
- Includes opt-out instructions
Appearance
Section titled “Appearance”Customize the form’s look to match your website:
Button Text
Section titled “Button Text”The text on the submit button.
- Default: “Subscribe”
- Examples: “Sign Up”, “Join Now”, “Get Started”
Primary Color
Section titled “Primary Color”The color used for the submit button and checkbox. Click the color picker or enter a hex code.
- Default:
#db2777(TextFlow pink)
Background Color
Section titled “Background Color”The form’s background color.
- Default:
#ffffff(white)
Text Color
Section titled “Text Color”The color for all text on the form.
- Default:
#111827(dark gray)
Status
Section titled “Status”Form is Active
Section titled “Form is Active”Toggle to enable or disable the form:
- Active - Form accepts submissions
- Inactive - Form displays a “not accepting submissions” message
Deactivate forms during maintenance or when you’ve reached your desired subscriber count.
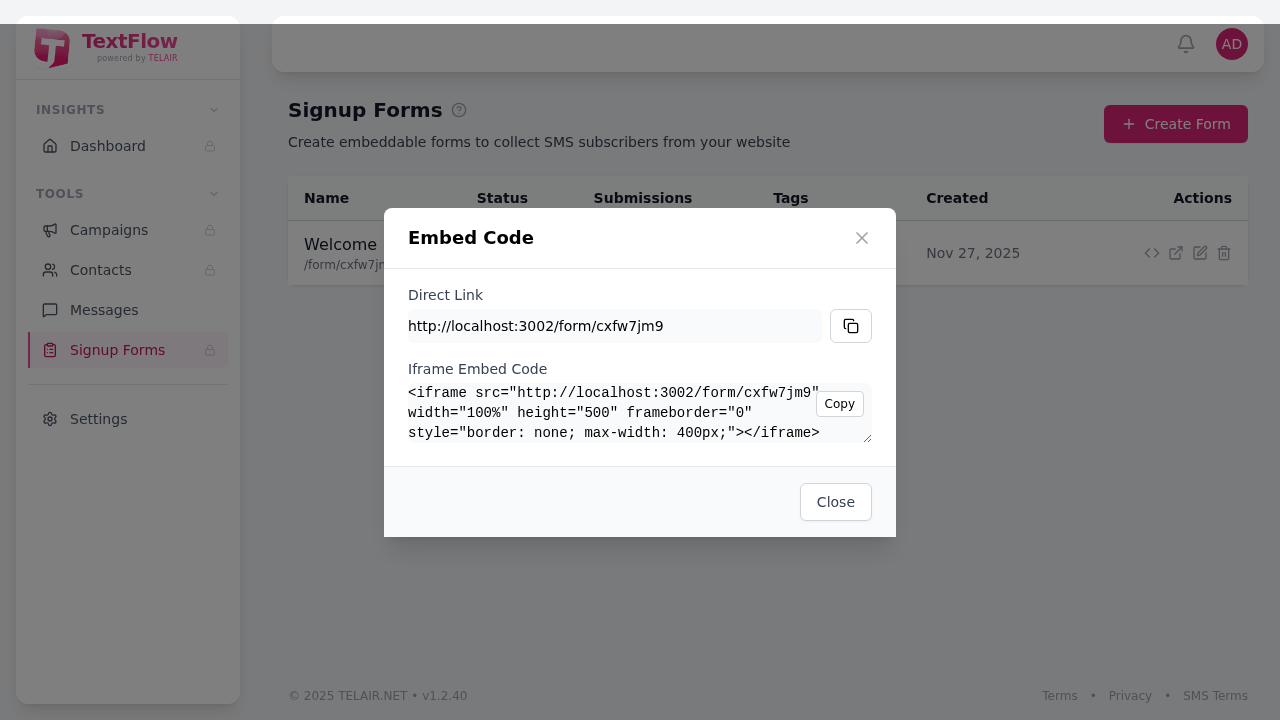
Saving Your Form
Section titled “Saving Your Form”Click Save Changes to save your form. After saving:
- Get the embed code to add to your website
- Preview the form to verify it looks correct
- Test a submission to ensure contacts are created properly
Next Steps
Section titled “Next Steps”After creating your form:
- Embed it on your website
- Customize the appearance
- Create a welcome campaign for new subscribers